
Administrators decide how accounts payable works for the company in Admin › Accounts payable.
The Accounts payable section appears only when UnitConnect has made the enhanced AP workflow available for your company. Viewing it and changing it need the accounts payable settings permissions; without the change permission the switches are disabled. If the section is missing, contact UnitConnect.
Turn on the enhanced AP workflow
In the sidebar, click Admin, then Accounts payable, and turn on Use enhanced AP workflow. This adds the Inbox and Queue beside the Expenses workspace; see The expense inbox and approval queue.
Due dates are recorded on expenses either way, so the queue already has history in it the day you turn it on.
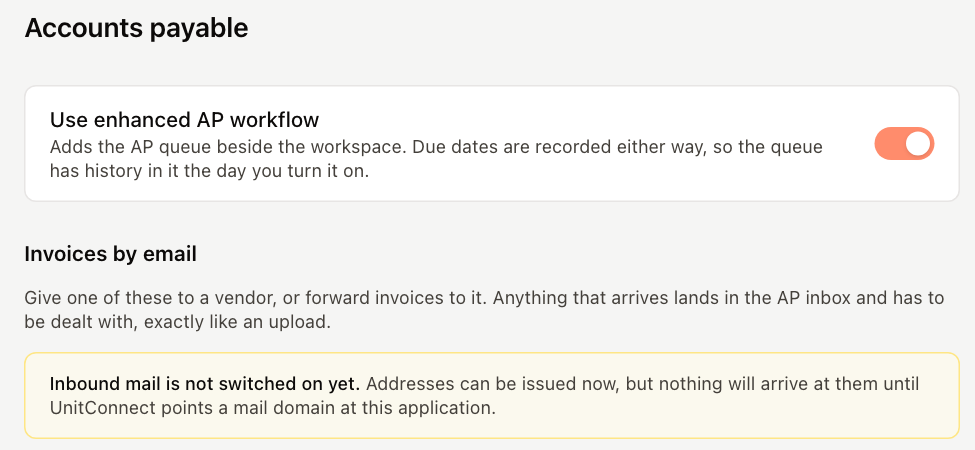
Invoices by email
With the workflow on, you can give vendors an email address for invoices, or forward invoices to it yourself. Anything that arrives lands in the Inbox, like an upload.
- Issue an address: type the first part of the address (for example "ap-yourcompany") and click Issue.
- Copy an address: click the copy button next to it.
- Replace an address: click Issue another address, issue the new one, then click Retire on the old one. You can't retire your only active address — vendors would have nowhere to send. Mail sent to a retired address no longer arrives.
If you see Inbound mail is not switched on yet, addresses can be issued but nothing arrives at them until UnitConnect connects a mail domain to your company.
Flow controls
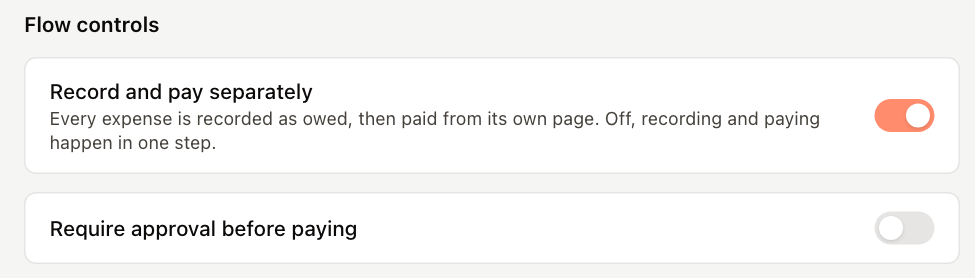
- Record and pay separately — every expense is recorded as owed, then paid from its own page. The expense form no longer offers Paid. When this is off, you can record and pay in one step.
- Require approval before paying — an expense has to be approved before it can be paid. Turn on Record and pay separately first; while approval is required, it stays on.