
The tenant portal lets tenants sign in to see their account, submit requests, read documents and receive announcements. You control a tenant's access on their Settings tab, and see the portal status at a glance on their Overview.
The portal itself — whether it is on for your company and which features exist — is set up by an administrator. See Tenant portal settings.
Check a tenant's portal status
On the tenant's Overview, the Tenant Portal card shows the status:
- Not invited — the tenant has no portal account yet. The card shows the email the invitation will go to.
- Invited — an invitation was sent, with the address and date.
- Invitation failed — the last invitation didn't go through.
- Registered — the tenant has an account. The card shows when they registered, their last sign-in and the features they Can use.
- Account locked or Portal access off — the tenant can't sign in.
The card also lists the tenant's Automatic payments and recent automatic payments.

Give access and send the invitation
- Open the tenant and click the Settings tab (or choose Portal settings from the … menu on the Tenant Portal card).
- Under Portal access, turn on Portal access.
- Under Features, turn on the parts of the portal this tenant can use, such as Requests, Documents and Announcements.
- Click Invite tenant. The invitation is emailed to the tenant's billing contact.
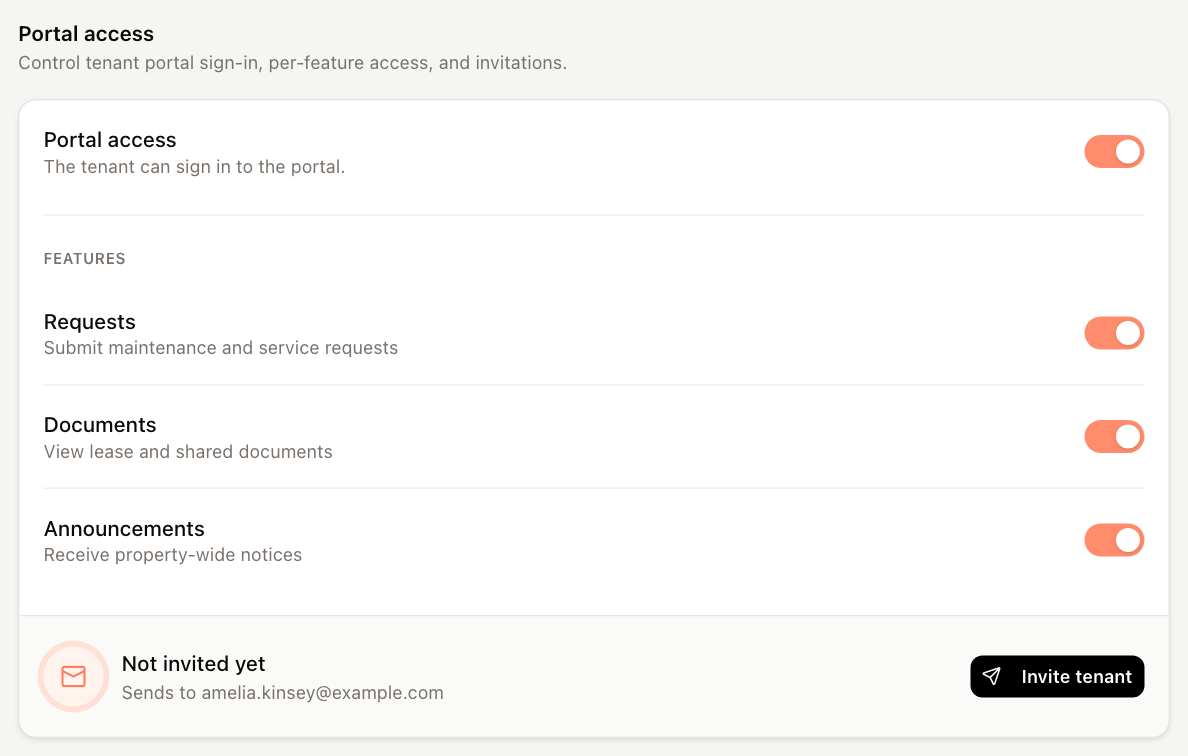
After sending, the button changes to Resend invite. You can resend after a short wait; the button counts down (Resend available in …) until then. If the invitation failed, the button reads Try again.
The Invite code is shown under the invitation. Click the copy button to copy it, for example to give it to the tenant over the phone.
Invite tenant appears only when portal access is on and the tenant's billing contact has an email address. If it's missing, add an email to the primary tenant contact on the Details tab. See Find and update a tenant's information.
Turn access off, or lock an account
- To stop a tenant from signing in, turn off Portal access on the Settings tab.
- To lock a registered tenant's account, click … on the Tenant Portal card on the Overview and choose Lock account, then confirm. Choose Unlock account to let them sign in again.
Notifications
The Notifications section on the Settings tab lists the automatic notices this tenant can receive, such as Rent Due, Lease Expiration, Insurance Expiration and Exercise of Option. Turn each one on or off for this tenant.
- A notice marked Also to managers is sent to property managers too.
- Click the cog next to a notice to edit its message, schedule and recipients in Admin > Notifications.
- Notices that are switched off for the whole property are grouped under Inactive for property, with a link to the property's settings. See Property settings.
Changing portal access, features, invitations and notifications requires permission to edit tenants.