
The tenant portal is where tenants sign in to see announcements, documents and their requests. You manage it in Admin > Tenant portal. The top of the page shows the Portal status and how many tenants are Registered and Non-registered.
Portal settings
Open the Settings tab.
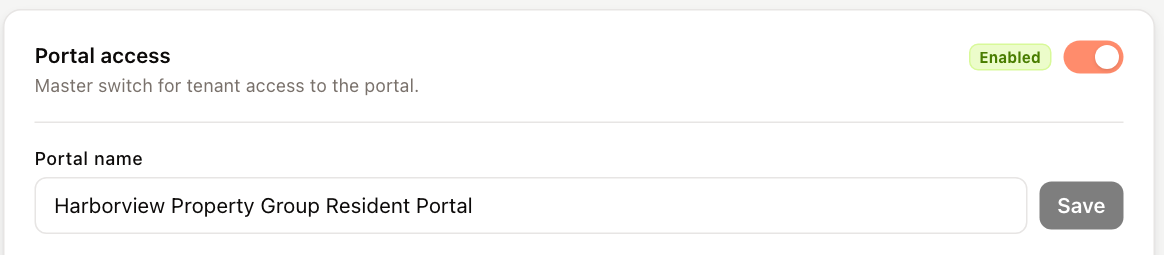
- Portal access — the master switch that turns the portal on or off for all tenants.
- Portal name — the name tenants see. Edit it and click Save.
- Portal URL — the sign-in link to share with tenants. Click Copy URL or Open portal. The link uses your company web address; if none is set, set it first under Application details > Company web address (see Company and application details).
Under Tenant contact page, enter the Office hours and Notes for tenants shown on the portal's Contact page, then click Save contact page. The phone, email and address on that page come from Application details.
Choose portal features
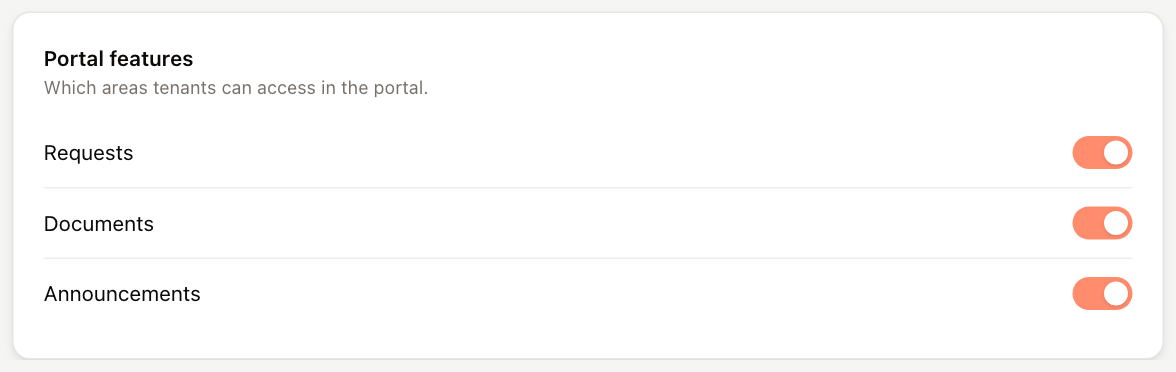
Under Portal features, turn each area of the portal on or off for tenants, for example Requests, Documents and Announcements. Features can be configured only while the portal is enabled.
Invite tenants and control access
Open the Tenants tab. Filter by property or search by property or tenant name, and switch between Non-registered and Registered tenants.
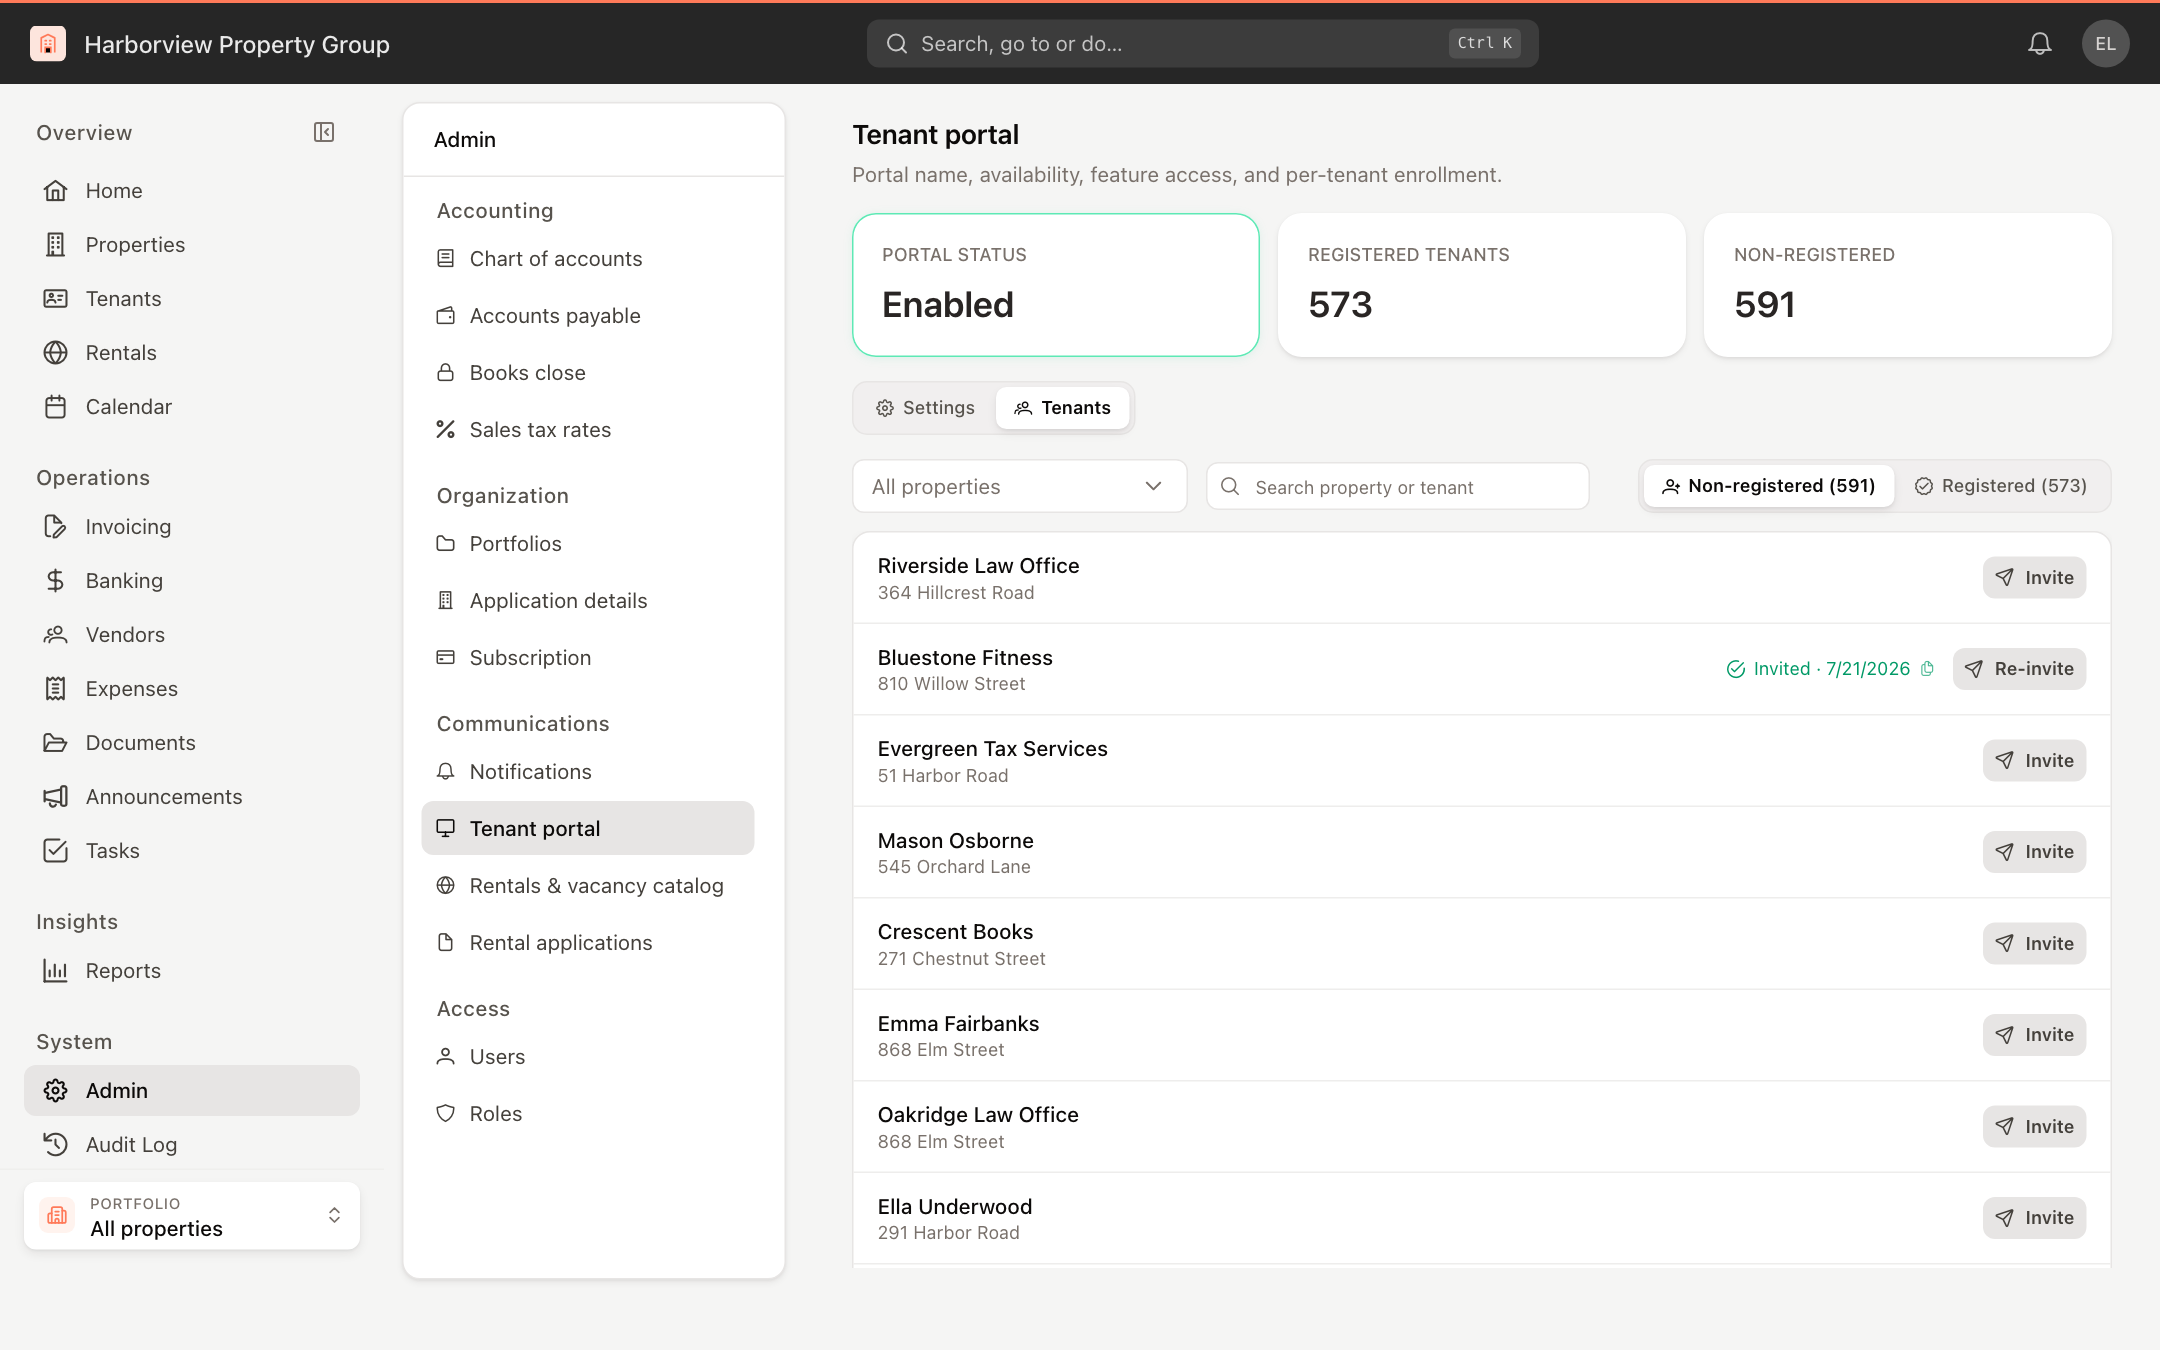
- Non-registered tenants don't have a portal account yet. Click Invite to invite one. The row then shows Invited and the date; click it to copy the tenant's invite code. Click Re-invite to invite again, and watch for Invite failed.
- Registered tenants have an account. Use the switch on each row to turn that tenant's access on (Access on) or off (Access off).
Changing tenant portal settings requires permission to modify the tenant portal. The Tenants tab is available only while the portal is enabled.